
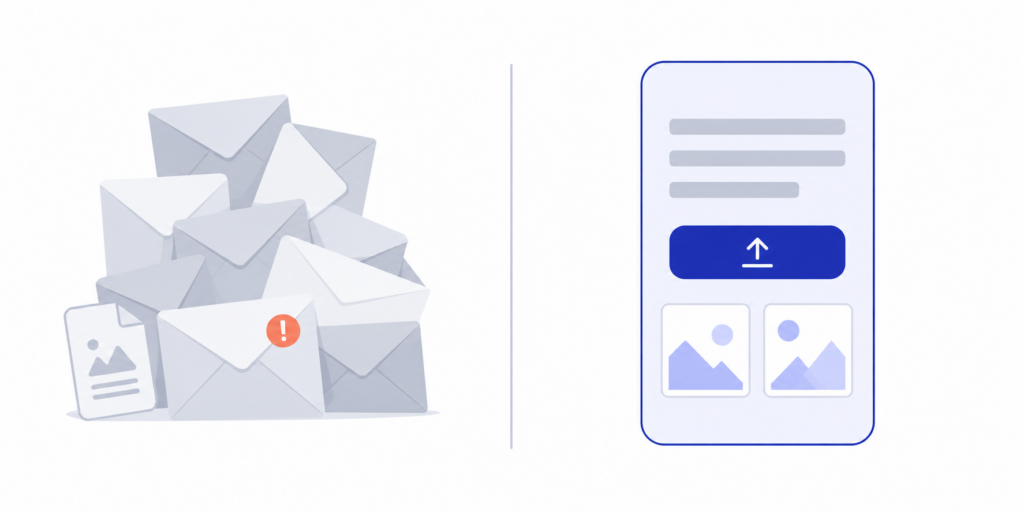
There’s a moment every social media manager, agency account lead, and event coordinator knows well. You need photos from clients or contributors. You send an email. You wait. You send a follow-up. You get four files back — two of them HEIC, one blurry, and one from a completely different project. You dig through your inbox for the other twelve people who haven’t responded. It is, in a word, exhausting.
The solution is a branded photo upload page: a dedicated link you send once, contributors click, and photos arrive in an organized, project-specific inbox — no email attachments, no Drive permission requests, no apps to download, no account required. It takes about fifteen minutes to set up the first time, and the workflow runs itself after that.
This guide walks through exactly what a branded upload page is, what makes one work, and the step-by-step setup — including the decisions most people get wrong the first time.
What a branded photo upload page actually is
A branded photo upload page is a dedicated URL where contributors upload photos directly to you, through their browser, without creating an account or installing anything. Your name appears at the top. You write the instructions. They tap upload, choose their photos, and submit. Done.
On your end, submissions land in a project dashboard rather than your inbox. You see who submitted, when, and what they sent. Downloads, ZIP exports, and routing to Google Drive are a few clicks.
The “branded” part matters more than it sounds. When someone clicks your upload link, they should see your project name or your company name — not a generic third-party interface. An upload page that says “Submit your photos for the Spring Gala” builds trust and reduces drop-off. An upload page that screams “this is some tool” confuses contributors who are already doing you a favor.
The “page” part also matters. A shared Drive folder is not an upload page. A Google Form is not quite an upload page (it requires a Google login for file upload). A WeTransfer link is for outgoing files, not incoming ones. An actual upload page is built for exactly this job: receiving photos from people outside your organization, cleanly, at scale.

What makes a photo upload page work (and what kills it)
Before the setup steps, it’s worth understanding the four things that make the difference between a submission page that converts and one that gets abandoned.
Low friction, no exceptions. The single biggest predictor of submission rate is the number of steps between “I’ll upload that” and “submitted.” Every additional step — creating an account, requesting access, downloading an app, navigating a login wall — cuts your conversion. The best upload pages work in under 60 seconds on a phone. If your contributors have to do anything except tap a link, find their photos, and hit submit, you are losing submissions.
A clear, specific ask. “Submit your photos here” is less effective than “Submit 2–5 photos from tonight’s event. Landscape orientation preferred. By submitting, you agree we may use your photos in event highlights and marketing materials.” Specificity produces better content and sets expectations. Contributors who know exactly what you want are more likely to submit something usable — and less likely to feel surprised when they see it on your Instagram six months later.
Your branding, not the tool’s. A familiar interface creates confidence. Your project name, your custom message, optionally your logo — these signal to the contributor that this is a professional request, not a spam link. The more the upload experience feels like it belongs to you, the higher the completion rate.
Project separation. If every submission goes to the same inbox, you will eventually drown. The upload page should be tied to a specific project so that photos from the March product shoot never intermingle with photos from the client case study program. Project-based intake is the workflow upgrade most teams underestimate until they’ve been burned by the alternative.
Step-by-step: setting up a branded photo upload page
Here’s the setup process from start to first submission.
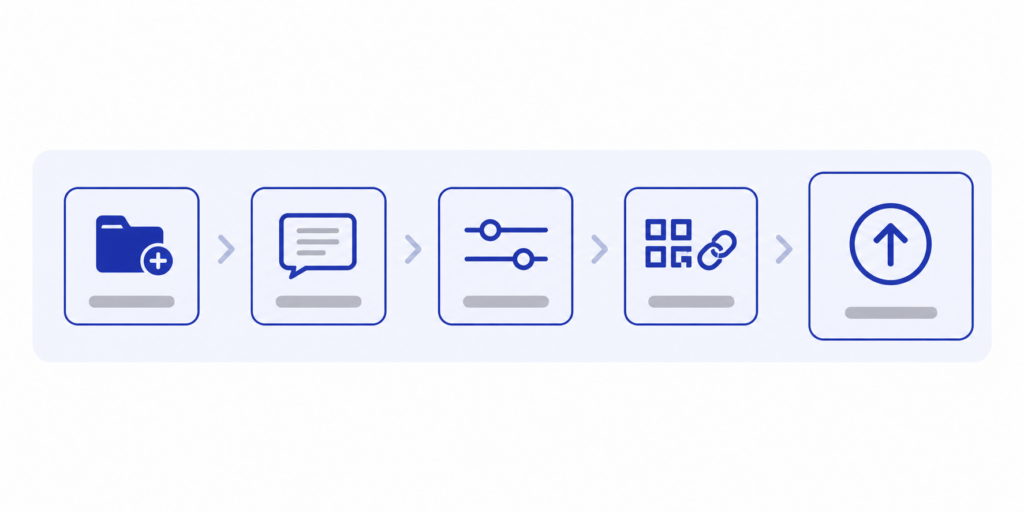
Step 1: Create a project
Every upload page is built around a project. The project is the container — it holds the submissions, the link, the QR code, and eventually the exports.
Name the project specifically. “Photos” is not a project name. “Spring Gala 2026 — Attendee Submissions” is a project name. You’ll thank yourself six months from now when you’re looking for specific submissions and your project list reads like a real archive instead of a pile of folders labeled “New Folder (2).”
In Picly, this takes about 30 seconds: click New Project, type the name, and you’re ready for the next step.
Step 2: Write your custom message
This is the text contributors see when they land on your upload page. Get it right here, not after the first confused email asking “what exactly do you want?”
The ideal custom message does three things:
Explains what the photos are for. “These photos will be featured in our event highlights recap and shared on the company website and social channels.” Contributors are more willing to submit when they know the context.
Sets submission requirements. “Please submit 1–5 photos. Landscape orientation works best for our format. Focus on the product in use, not just the packaging.” Brief is better — two or three lines, not a paragraph.
Confirms the usage agreement. “By submitting, you agree that [Your Brand] may use your photos in marketing materials.” This doesn’t have to be lengthy. It has to be present. Getting consent at the moment of submission is infinitely easier than chasing it later.
Don’t overthink this. Most contributors take ten seconds to read it and then upload. The goal is clarity, not comprehensiveness.
Step 3: Configure your upload settings
A few decisions here that save headaches later.
Maximum files per submission. Set a number that makes sense for the context. Event attendees: 5–10 photos. Client photo submissions for a campaign: as many as you need. Brand ambassador regular deliveries: often set with no limit. If you don’t set a cap, you’ll occasionally get a contributor who uploads 200 photos and buries the others.
File types. Most platforms accept JPEG, PNG, and HEIC by default. HEIC (Apple’s default photo format on modern iPhones) is worth confirming explicitly — a platform that can’t accept it will generate a silent failure for a large portion of your smartphone-using contributors.
Submission deadline (if applicable). If you’re running a campaign or contest with a cutoff date, configure it here rather than in the email. Deadlines embedded in the platform are enforced automatically. Deadlines mentioned only in an email get missed.
Step 4: Get your link and QR code
Once the project is configured, your upload page generates two things automatically: a URL and a QR code. Both point to the same page. Use both.
The URL goes in emails, Slack messages, campaign briefs, and anywhere else you’re communicating digitally. Paste it directly rather than hiding it behind “click here” — a visible URL builds trust.
The QR code goes on anything physical: event programs, table cards, signage, printed campaign briefs, product packaging inserts. At in-person events especially, a QR code on a sign is worth twenty individual email asks — attendees scan when the moment is right, upload while the photos are fresh, and you don’t have to collect contact information first.
Keep both saved somewhere you can access quickly. You’ll reuse the QR code in slide decks and printed materials more often than you expect.
Step 5: Share the link — once, correctly
The most common mistake at this stage is under-specifying the ask in the email or message that accompanies the link. “Here’s the link to upload your photos” produces worse results than a two-sentence setup:
“We’re collecting photos from the event to feature in our highlights recap and on the [Brand] website. Use the link below to upload — it works on any phone or computer, no account needed. We’d love 3–5 of your best shots from the evening.”
That’s it. The submission page does the rest. You don’t need a long email. You need a clear sentence that tells them what it’s for, a reassurance that it’s easy, and a specific ask (number of photos, type of content).
If you’re sharing with a group — event attendees, a client list, a customer segment — consider timing. For events, send within 24–48 hours while the photos are still accessible on their camera rolls and the event is still recent. For ongoing campaigns, send at the moment of ask rather than later in the sequence when momentum drops.
Common mistakes and how to avoid them
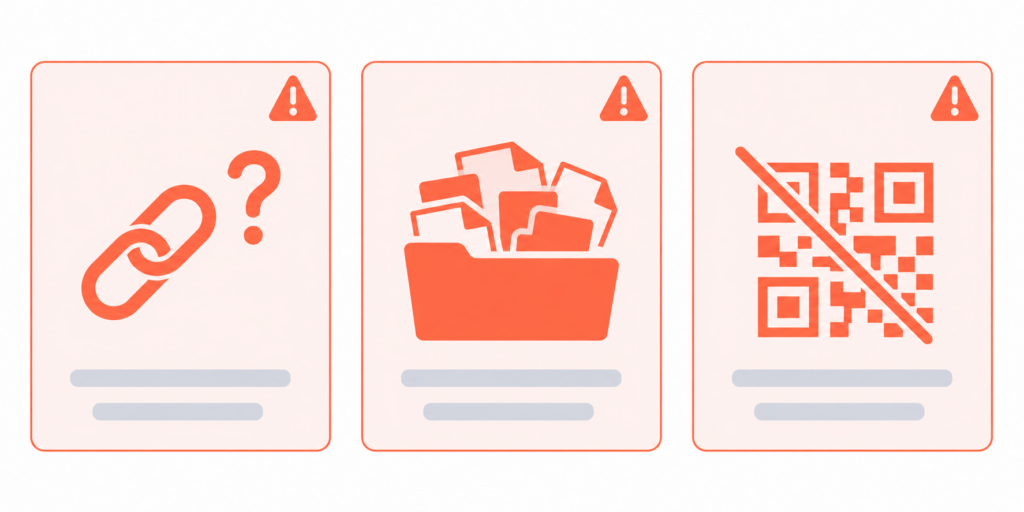
Sending the link without context. A bare URL with no explanation triggers distrust, especially from contributors who aren’t expecting it. Always pair the link with a sentence about what it’s for.
Using one page for multiple campaigns. It’s tempting to create one permanent upload page and reuse it everywhere. Don’t. When submissions from three different campaigns land in the same inbox, organization collapses. Create one page per collection effort. It takes 30 seconds and saves hours of sorting later.
Forgetting the QR code for in-person moments. At events, most contributors will not remember to dig up the link you emailed them three days ago. Physical QR codes — on signage, table cards, or even a slide at the end of a presentation — are the difference between 12 submissions and 120.
Missing the usage rights language. Collecting beautiful photos you can’t legally use in paid advertising or on your website is a specific kind of frustrating. Include the consent statement in your custom message. Even one sentence covers the baseline for most marketing uses. For high-stakes uses (paid ads, packaging, large-scale print), have a lawyer review your terms once.
Not setting a deadline when one applies. If you need photos by a date for production or editorial, put it in the submission page, not just in the email. Email deadlines get buried. Platform-enforced deadlines do not.
What happens after submissions come in
Setting up the page is the setup. The workflow is what makes it sustainable.
Review by project, not by submission. Rather than triaging each new upload individually, batch-review per project once or twice a week. Open the project dashboard, scan the thumbnails, mark approvals, and download or export in one session. This is faster than it sounds and produces more consistent quality decisions than reactive review.
Export to Google Drive for team access. If the photos need to go to a designer, a content team, or a social media scheduler, a direct export to Google Drive means the files land in the right folder without anyone manually downloading and re-uploading. Most photo collection platforms support this. Use it.
Archive the project when the campaign closes. Don’t delete it. Archive or close it so the submissions are preserved but the link stops accepting new uploads. Six months from now, someone will ask for “those event photos from the spring gala” — and you’ll have them, organized exactly as they arrived, without a search-your-inbox session.
When a branded upload page is and isn’t the right tool
A branded upload page is the right tool when:
- You’re collecting photos from more than a handful of people
- Your contributors are external (clients, customers, attendees, community members)
- You need project-level organization, not just files in a folder
- You want clean rights and consent at the moment of submission
- You’re doing this more than once a month
It’s probably overkill when:
- You need one photo, one time, from one person you already have an easy relationship with
- Your contributor pool is entirely internal and already has clean access to shared folders
- You’re collecting assets that aren’t photos (documents, contracts, data files)
For most marketing, events, and client-facing teams, the “overkill” scenario almost never comes up in practice. If you’re collecting photos as part of your work — even irregularly — a dedicated setup pays for itself in time saved on the first campaign.
Frequently Asked Questions
No, and this is one of the most important features to verify when evaluating tools. Anyone with a browser and the link should be able to upload photos without signing in to anything. If a platform requires your contributors to create an account, you will lose a significant portion of them before the first photo is uploaded.
Yes, as long as the platform explicitly supports HEIC. Most modern iPhones shoot in HEIC by default — a platform that can’t accept it silently fails a significant percentage of your mobile contributors. Verify HEIC support before you commit.
Include a brief consent statement in your custom message (“By submitting, you agree that [Brand] may use your photos in marketing materials”). At the moment of submission, contributors have read and accepted the terms. This is cleaner and more defensible than asking for permission after the fact, and far more reliable than assuming a public social post equals consent.
It depends on the context. For events, 3–10 photos is typical — enough variety to give you options, not so many that the selection process becomes overwhelming. For ongoing client submissions, match the quantity to your actual content needs. More is not always better if it means lower average quality.
Specificity in the submission instructions. “Submit your best 3–5 photos from the event” produces better results than “submit photos.” Adding orientation guidance (“landscape photos work best for our format”), lighting notes (“well-lit, in focus”), and subject guidance (“show the product in use”) brings average submission quality up without requiring professional contributors.
Technically yes, but it’s a mistake organizationally. Submissions from different campaigns mixed into one project become impossible to sort cleanly after a few months. Create a new project per campaign or event. The fifteen seconds it takes to create a new project is nothing compared to the time you’ll spend untangling a shared inbox. the only exception to this rule is for a “General Social Share” project link/QR Code. This project can be left on signs year-round. This gives the benefit of people easily finding signs in high-traffic areas all year to make sharing with social media staff quick and easy.
Ready to stop chasing photos? Try Picly free for 30 days — no setup, no apps for your clients, just a clean link they tap to upload.